

Planting clematis in the fall in open ground: terms, rules for growing and care
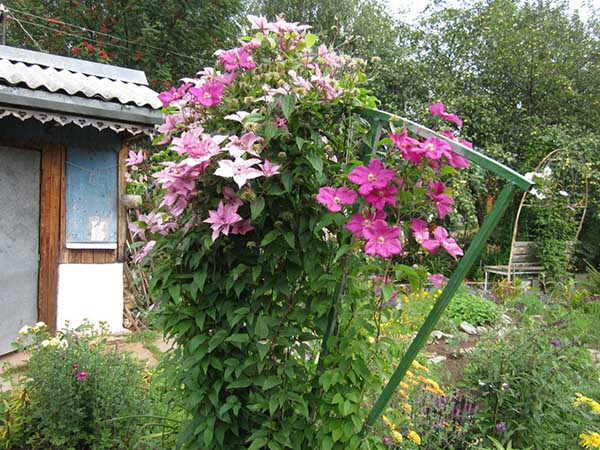
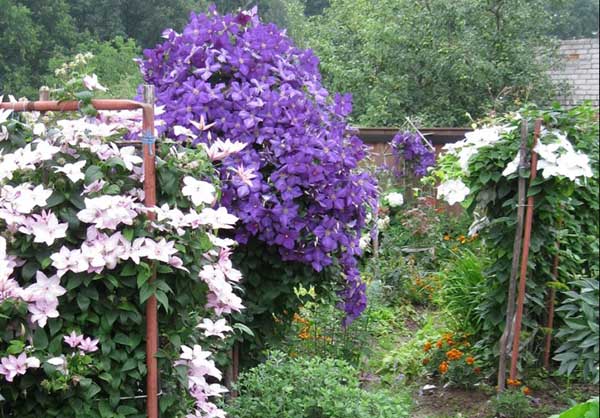
There is no doubt that delicious clematis (the second name is clematis) Is one of the most beautiful climbing plants for vertical landscaping. Probably, you were not left indifferent by its magnificent flowering, which is why you wanted to plant clematis on your site?
Well, then you will learn about when and how to plant clematis correctly in the fall, so that the plant will definitely take root in your garden, as well as what activities are included in the care of this perennial vine.
Content
Types (pruning groups) and varieties of clematis
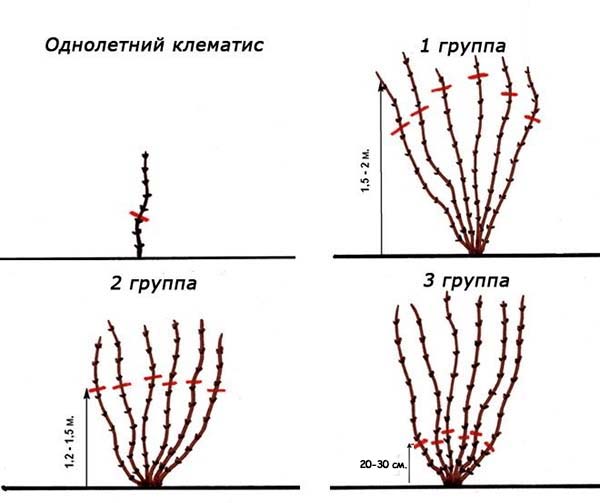
Clematis are usually classified by groups (type) of pruning into:
- 1 pruning group (Alpine, Mountain, Large-leaved (Sakropetala), Patens (spreading), Florida (flowering) and others, mostly small-flowered) - bloom in spring and early summer on the shoots of last year, which means they require mandatory shelter for the winter ...
- 2 pruning group (Lanuginoza, part of the Florida and Patens hybrids, Woolly, as well as other large-flowered and terry varieties) - clematis first blooms on the shoots of last year (in spring and early summer), and then the current one (in late summer-autumn).
- 3 group of pruning (Vititsella, Zhakmana, Hexapetala, Vostochny, Pryamy, Razvolistny, Texensis, Tangutika and others, most of them are terry) - the most popular and requiring little maintenance, clematis bloom on shoots of the current year (late summer-autumn), i.e. for the winter, they do not need to be covered, just cut off and a little huddle (mulch).
Clematis varieties that differ in the shape, size and color of its inflorescences (as a rule, are divided into small and large-flowered), as well as flowering periods, there are more than a dozen, or even a whole hundred, but which one is right for you, your region and climate, you can determine by watching one of the videos below.
Video: the best varieties of clematis for the Central strip and the Moscow region
Video: the best varieties for planting in the Urals
Video: the best varieties for growing in Siberia
When to plant clematis in the fall in open ground: timing
Clematis can be planted both in spring and autumn..
As a rule, spring planting of clematis is carried out in colder and more northern regions (where the climate is harsh), for example, in Siberia and the Urals. Autumn planting is preferable for more temperate and warmer climatic zones, for example, for the southern regions (Krasnodar Territory, Rostov Region). Thus, you can choose the time when it is better to plant clematis based on your place of residence.
However, if you decide to plant clematis in the spring, then you need to have time to do this before bud break (if we are talking about a seedling with an open root system), otherwise the plant will take a long time and badly take root after planting.
It is much better to do the autumn planting of clematis, planting seedlings 2-4 weeks before the first frost. For example, in the Middle Lane (Moscow region) - this is the second half of September and the first days of October.
But seedlings with a closed root system (in containers) can be planted throughout the warm season (from April to October).
According to the lunar calendar for 2021
Choose a specific date for the autumn planting of clematis seedlings can help you Moon calendar.
So, favorable days for planting clematis in the fall of 2021, according to the lunar calendar, are:
- in August - 5-7, 20, 21, 23-25, 27-30;
- in September - 9-11, 15, 16, 19-21, 26-28;
- in October - 6-8, 21-23;
- in November - 9-13, 22-24, 27, 28.
Unfavorable days, according to the lunar calendar for 2021, for the autumn planting of clematis, the following dates are (days of the Full Moon and New moons, as well as the period when the Moon is in Aquarius, because it is a barren and dry sign - italicized):
- in August - 8, 20-21, 22;
- in September - 7, 16-17, 21;
- in October - 6, 13-15, 20;
- In November - 5, 10-11, 19.
According to the Lunar Calendar, from the magazine "1000 Tips for Summer Residents".
How to properly plant clematis in the fall in open ground
Landing place
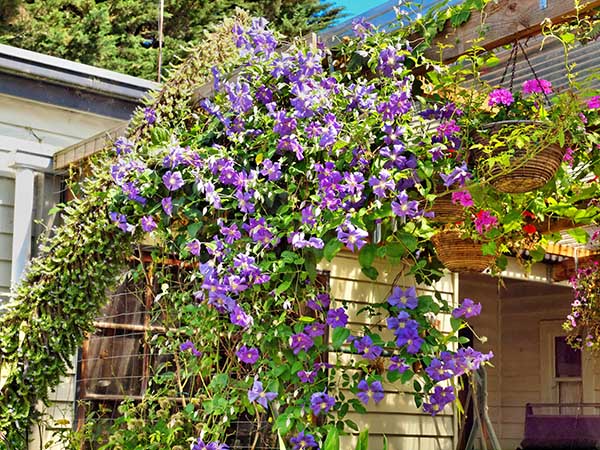
For good development (including for the ripening of shoots, if we are talking about 1 and 2 pruning groups), lush and abundant flowering, clematis should be planted in a well-lit area, while protected from the northern winds (the plant does not tolerate drafts). Alternatively, it can be the south, southwest or southeast side of the house or fence.
Important! However, it is worth considering that some varieties of clematis (for example, Pink Fantasy, Piilu, Hegli Hybrid, Atragen) can grow in a small and openwork shade. As a rule, these include those varieties that have a fairly bright color of the leaves.
As for the specific location, you need to choose a place where you can install the supports, because this is still a climbing plant.
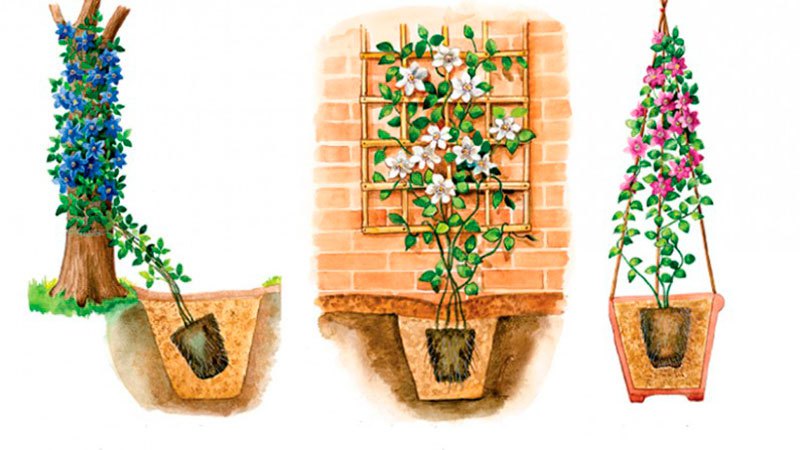
In other words, clematis can be planted near a fence, a gazebo, or, as an option, make a separate special trellis for it.
You can also plant clematis right next to the tree.
If you are going to plant a plant near a country house or a shed, then it is advisable to retreat at least 50 cm from the structure (or better by a meter or even one and a half) so that the root system can develop normally.
Soil and planting hole
Clematis is quite picky about the structure and fertility of the soil. Namely, it should be loose and nutritious (rich in organic matter), also well-drained.
It is also worth considering that a flowering liana will not be able to develop normally in the place where water stagnates (spring snow melt), so it is optimal to plant it on a certain hill or on a raised bed if you have a problem with the close occurrence of groundwater (less than 1 meter) ...
In this case, clematis needs a soil that is neutral and slightly alkaline (pH 6-7, not higher than 8), but acidic soils (pH below 5.5) are contraindicated for the plant.
If you do not know the acidity of your soil, then you should first measure the acidity of the soil on your siteand then already adjust (change - increase or decrease)... As a rule, most often the soil has an acidic reaction, which means that you will need to lime it (neutralize) by adding lime, chalk, to the soil mixture to fill the planting pit, dolomite flour or wood ash (it is also a potash fertilizer).
You can increase the fertility of your soil by introducing organic fertilizers into the planting hole, for example, compost or humus (bucket), wood ash (200-400 grams), also mineral - superphosphate (30-40 g) and potassium sulfate (20-30 g).
If you have a heavy and clayey soil, then it is recommended to add baking powder, the same sand and peat to it. And also pour a 10-15 cm drainage layer of pebbles, gravel, crushed stone, broken brick or any other inert material.
Interesting! In an excessively dense and clay soil, the roots develop poorly (they can get wet and rot), and in a sandy soil, the plant often lacks nutrition, because moisture and fertilizers are quickly washed out (so to speak, they do not linger in the sand).
The planting pit for clematis is recommended (dug out) sufficiently voluminous. Despite the fact that the seedling is quite small, in the future it will still grow. Its optimal size is at least 40 cm in depth and width (diameter), better even 60 by 60 cm.If your soil is heavy and clayey, then you need a bigger pit - 50-60 cm (+10 cm of drainage, i.e. 60-70), if sandy, then less - 40-50 cm.
Advice! Spare no drainage materials! He will save your plant when there are heavy rains.
The distance between plants should be at least 60-80 cm, and preferably 1-1.5 meters (vines grow very well).
Direct planting in the ground
Advice! If you have a seedling with an open root system, it is advisable to soak its roots in one of the root growth stimulants, for example, in Kornevin or Heteroauxin, the day before planting. If closed (in a container) - exactly with the instructions below.
Step-by-step instructions for planting a clematis seedling in open ground:
- Dig a landing hole.
- Make drainage (pour a 10-15 cm layer of expanded clay, crushed stone).
- Prepare the soil mixture.
- Fill the hole with the previously prepared soil mixture, compact it well (with your foot).
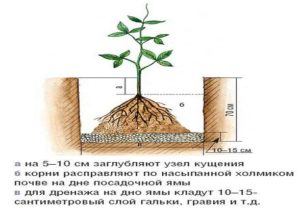
If you have open root seedling (not in a pot), then you need to pour a small mound and plant a seedling on it, gently spreading its roots along the sides.
- Make a small hole in the middle about the size of the pot in which the seedling is placed.
- Pull out the seedling along with a clod of earth, after spilling it well, so that it gets better.
If the roots have outgrown the space of the pot (container), are twisted too much, then it is better to soak an earthen ball, and then spread the roots to the sides and plant on a mound, i.e. like a seedling with an open root system.
- Place the seedling in the hole, cover with earth and lightly compact (by hand).
As for the landing depth. It is recommended to deepen the root collar of the seedling by 5-8 cm (if you have a cold region and have snowless winters, or better even by 10-12 cm) so that the plant will release more shoots (from dormant buds), as well as to protect the roots from freezing in winter and overheating in summer.
Advice! After watering, the earth will still settle, it is better not to deeply deepen immediately, 3-5 cm will be enough.
- Pour abundantly with water from a watering can.
- After the moisture has been absorbed and the soil has settled, add dry soil, and then mulch (for example, with peat, sawdust).
- Cut off all shoots, leaving no more than 20-30 cm.
Advice! The site already has material about as take care of clematis in the fall in order to properly prepare them for winter in the first year.
Video: how to plant clematis in the fall
Clematis care after autumn planting: growing rules
Basically, after landing, you only need properly cover clematis for the winter in accordance with the group of its pruning... However, if the autumn turns out to be dry, then the young seedling should be watered moderately, in no case allowing waterlogging (otherwise the root collar will rot, because it is buried and is in the ground).
As for the main agrotechnical measures for caring for clematis in the open field (growing rules), they include the following: watering, feeding, removing weeds and loosening, pruning and sheltering for the winter.
And don't forget to build or install a support around which clematis will curl! And it is better to tie up on your own as the shoots grow.
Watering
Watering clematis should be regular, while abundant enough. Liana loves moist soil, but, as you remember, without stagnant water. If the summer is dry, then in the heat it is worth watering 2 times a week. The rest of the time, watering should be a little less frequent and more abundant, somewhere 1-2 times every 10 days. In this case, the soil should be well moistened to a depth of about 30-40 centimeters. 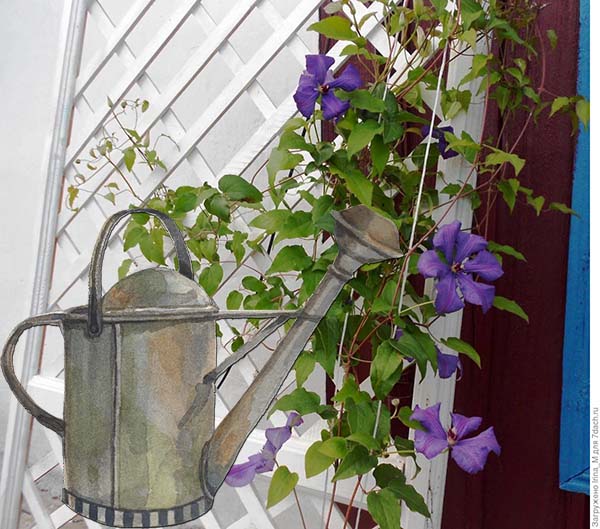
Top dressing
Clematis can be fertilized with both mineral and organic fertilizers (it is optimal to combine).
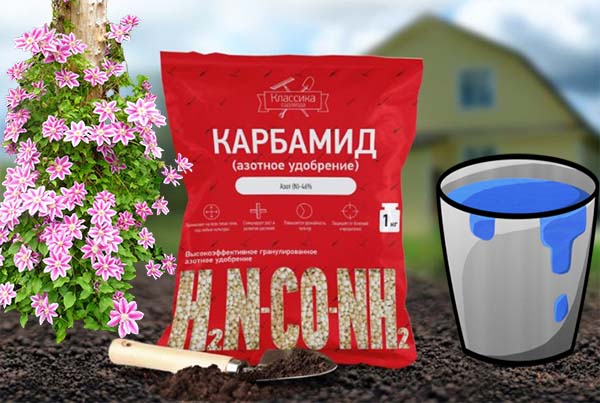
To build up green mass (regrowth of new shoots and leaves) in the spring, use nitrogen fertilizers (mineral - urea (carbamide), ammonium nitrate, organic - infusion of mullein, bird droppings, green fertilizer from nettle).
By the way! Many summer residents annually mulch their clematis with humus (rotted manure), and this fertilizer is enough for abundant flowering.
During the budding period (at the end of spring), they switch to complex feeding. For example, you can use nitroammophoska.
And closer to autumn, in August-September, - to phosphorus-potassium (without nitrogen). Potassium fertilizers - potassium sulfate (mineral), wood ash (organic), phosphoric — superphosphate.
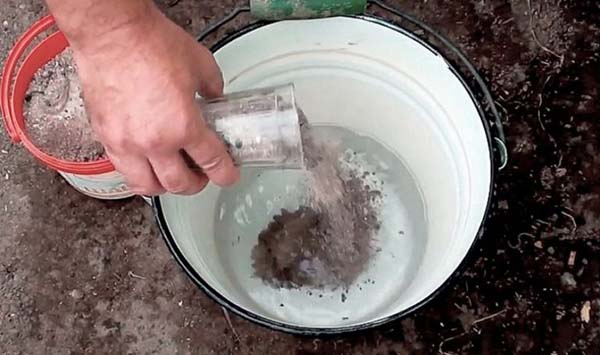
Clematis especially love feeding wood ash (1 glass to 1 bucket of water).
Interesting! Potash and phosphorus fertilizers contribute to better ripening of shoots, as well as strengthening of the root system, which means better winter hardiness.
Pinching
If you are a lucky owner of clematis first or second trimming group, in other words, a variety that blooms on last year's shoots, then for better ripening of the vines, you should regularly pinch the tops of the shoots (starting in June).
Pruning and sheltering
Correct autumn preparation of clematis for winter exactly depends on which pruning group your vine belongs to.
- Group 1 is clematis that bloom on last year's shoots, they must be covered without fail and well enough, and in no case should be cut off (otherwise they will not bloom).
- Group 2 - these are plants that bloom on last year's and current shoots, which means that they need both shelter and pruning.
- Group 3 - these are vines that bloom on the shoots of the current year. They actually do not need shelter (you can only mulch), but you can cut it almost at the root (to a height of 20 cm from the ground).
Advice! The site already has separate detailed materials about how to prune clematis of different pruning groups, and properly cover for the winter.
Reproduction
Clematis can be grown from seeds by planting seedlings in spring (with mandatory preliminary seed stratification).
But more often clematis is propagated by vegetative methods: cuttings (the most common), layering and dividing the bushes.
Note! The main advantage of vegetative propagation methods is that varietal characteristics are fully preserved.
But if you want to collect seeds yourself and plant them on seedlings, then your plant may not at all repeat the appearance of its parent.
It's another matter if you buy seeds from a manufacturer.
If you do everything (plant) in a timely manner and correctly, and in the future you follow the basic rules of growing and take good care of it, then your clematis will bloom beautifully, delighting you every year.
Video: planting clematis in the fall